Homemade Whoopie Pies
I’m so excited to introduce my new baking with kids series, The Munch Bunch! Easy, scrumptious, and most of all fun recipes to make at home with your kiddos.
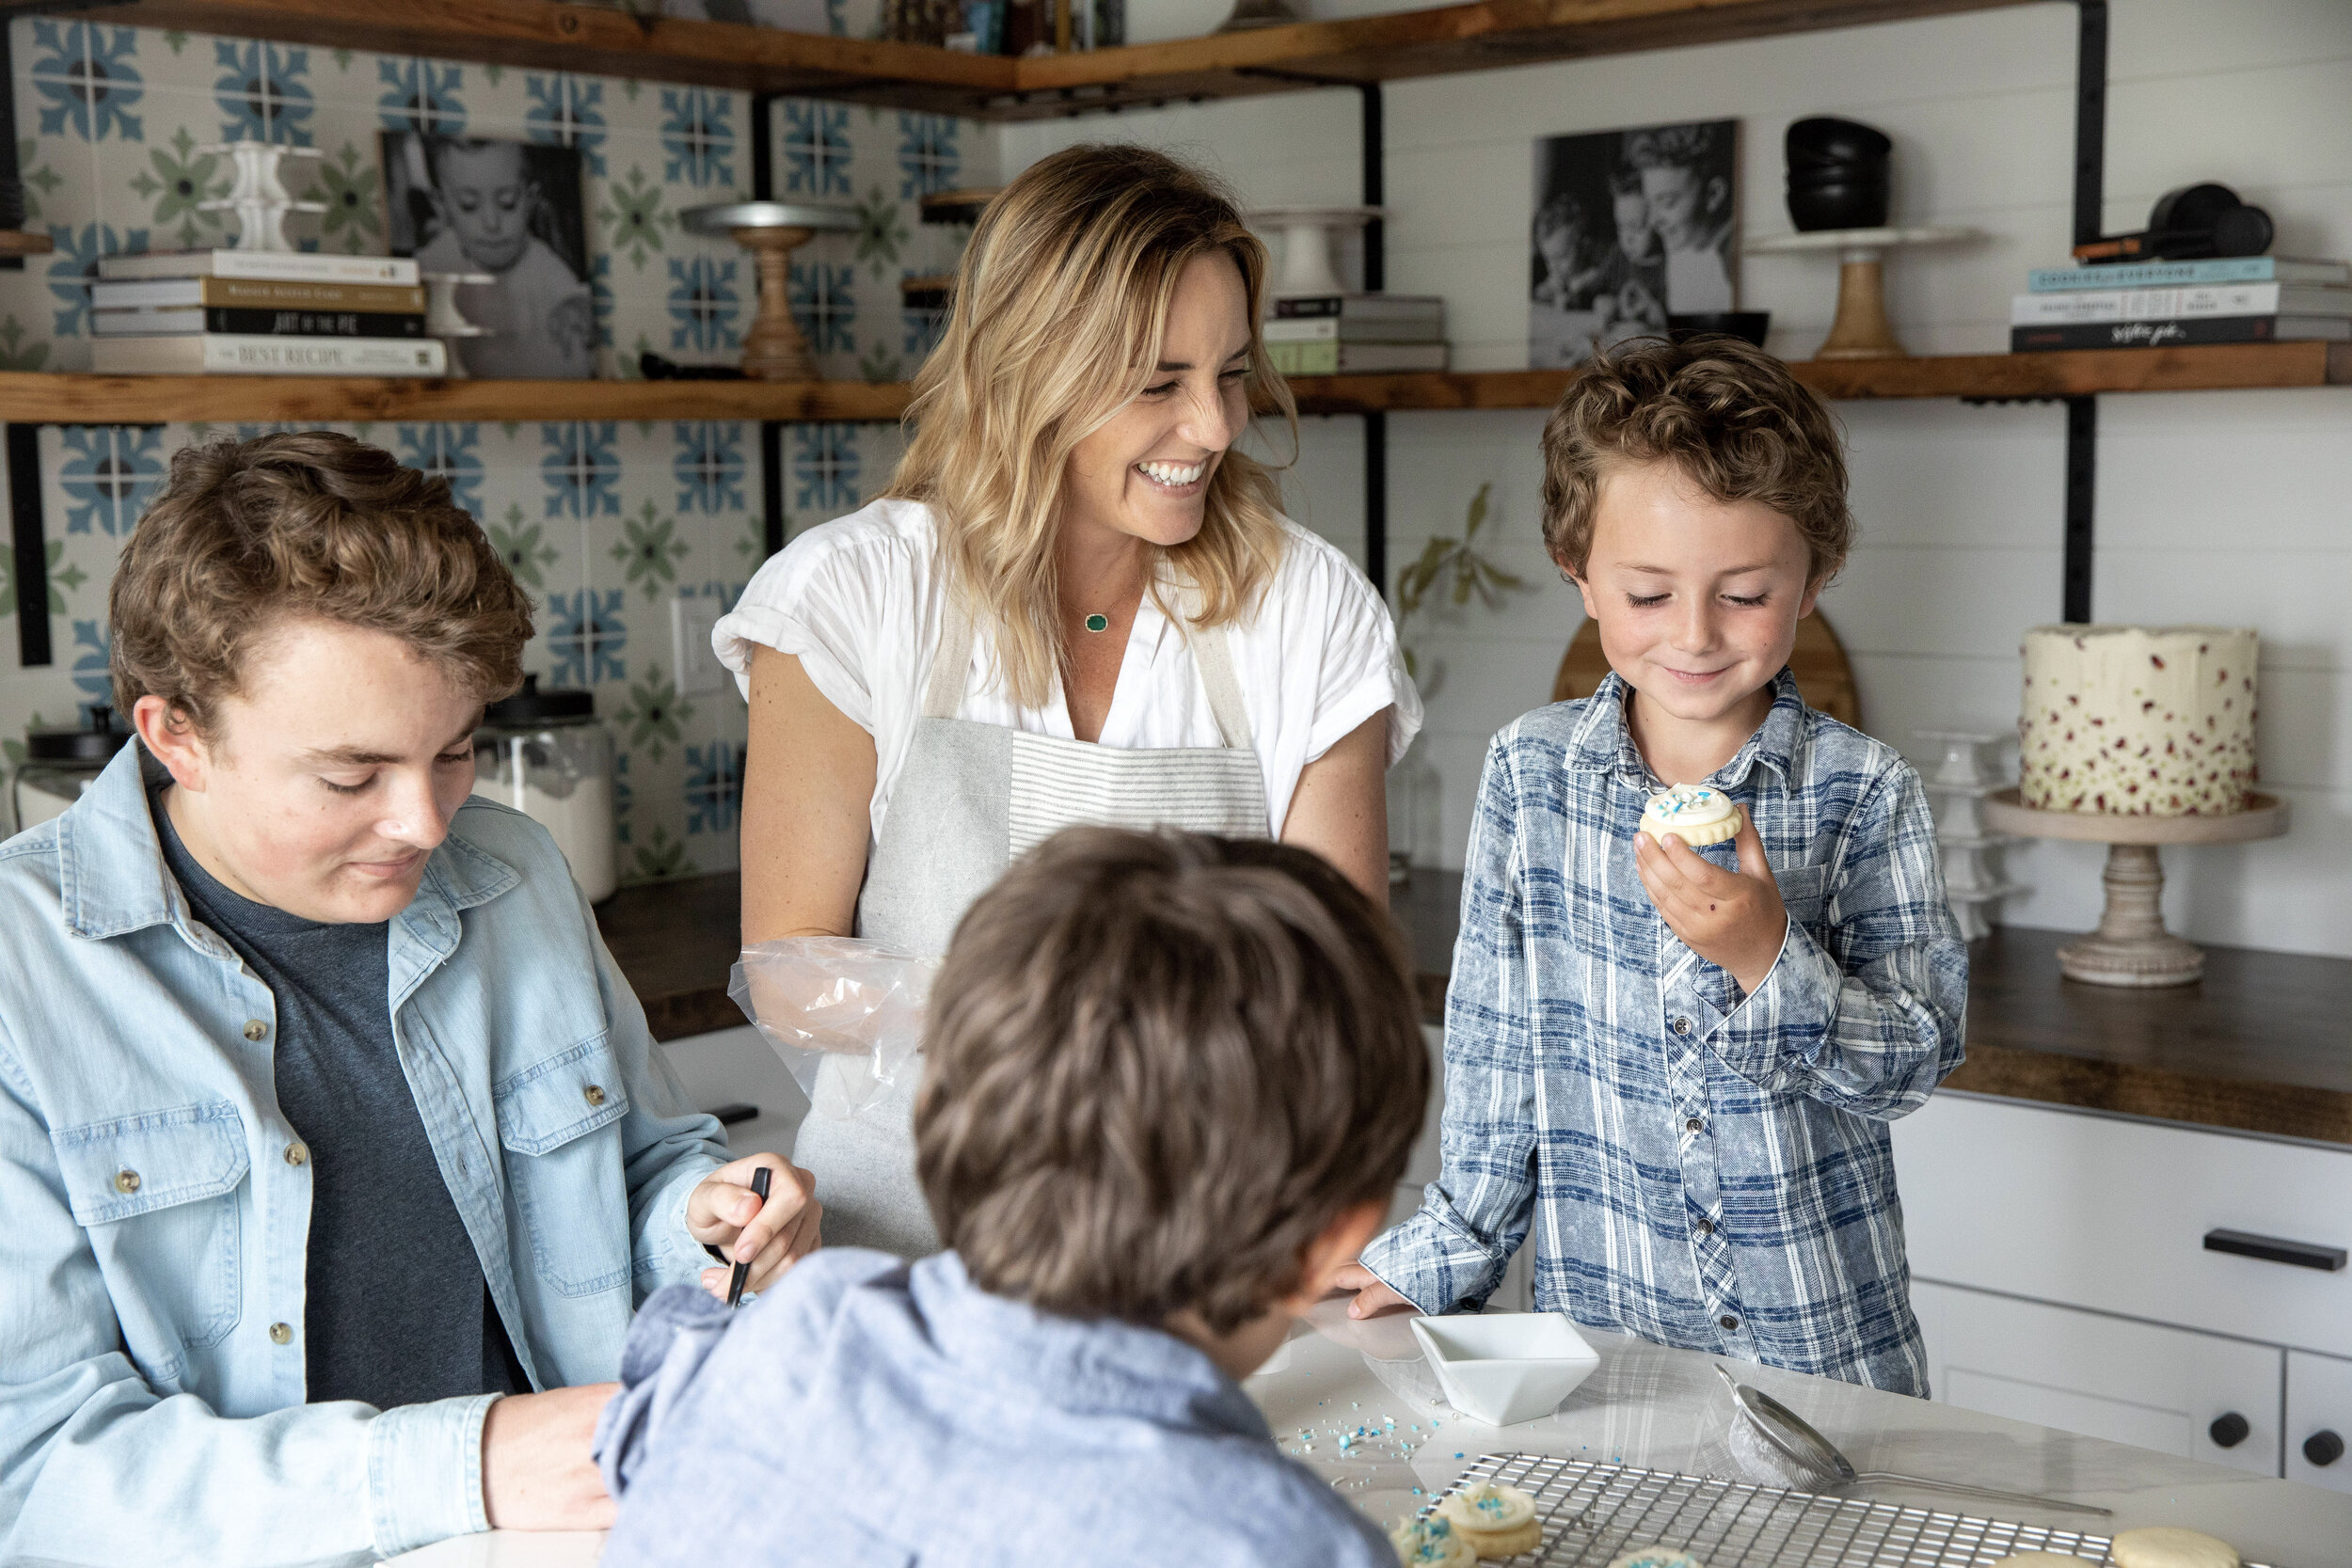
Meet Killian, 7 years old, Soren, 5 years old, and Hatton, 15 year’s old
“Daddy, we made homemade whoopie cushions!”
I didn’t have the heart to tell him they were called Whoopie Pies. Hearing him say “whoopie cushions” all day was just too cute.
A soft and tender chocolate cake-like cookie sandwich loaded with a vanilla buttercream that dreams are made of? Yes please! These homemade monster-sized chocolate whoopie pies are the ultimate treat to make with your kids. You may be wiping batter off the walls for days, but trust me, the mess is worth it.
With a generous dose of cocoa, they’re loaded with rich chocolate flavor, then filled with a bright, fluffy layer of vanilla whipped cream cheese buttercream. Be prepared for a group sugar rush!
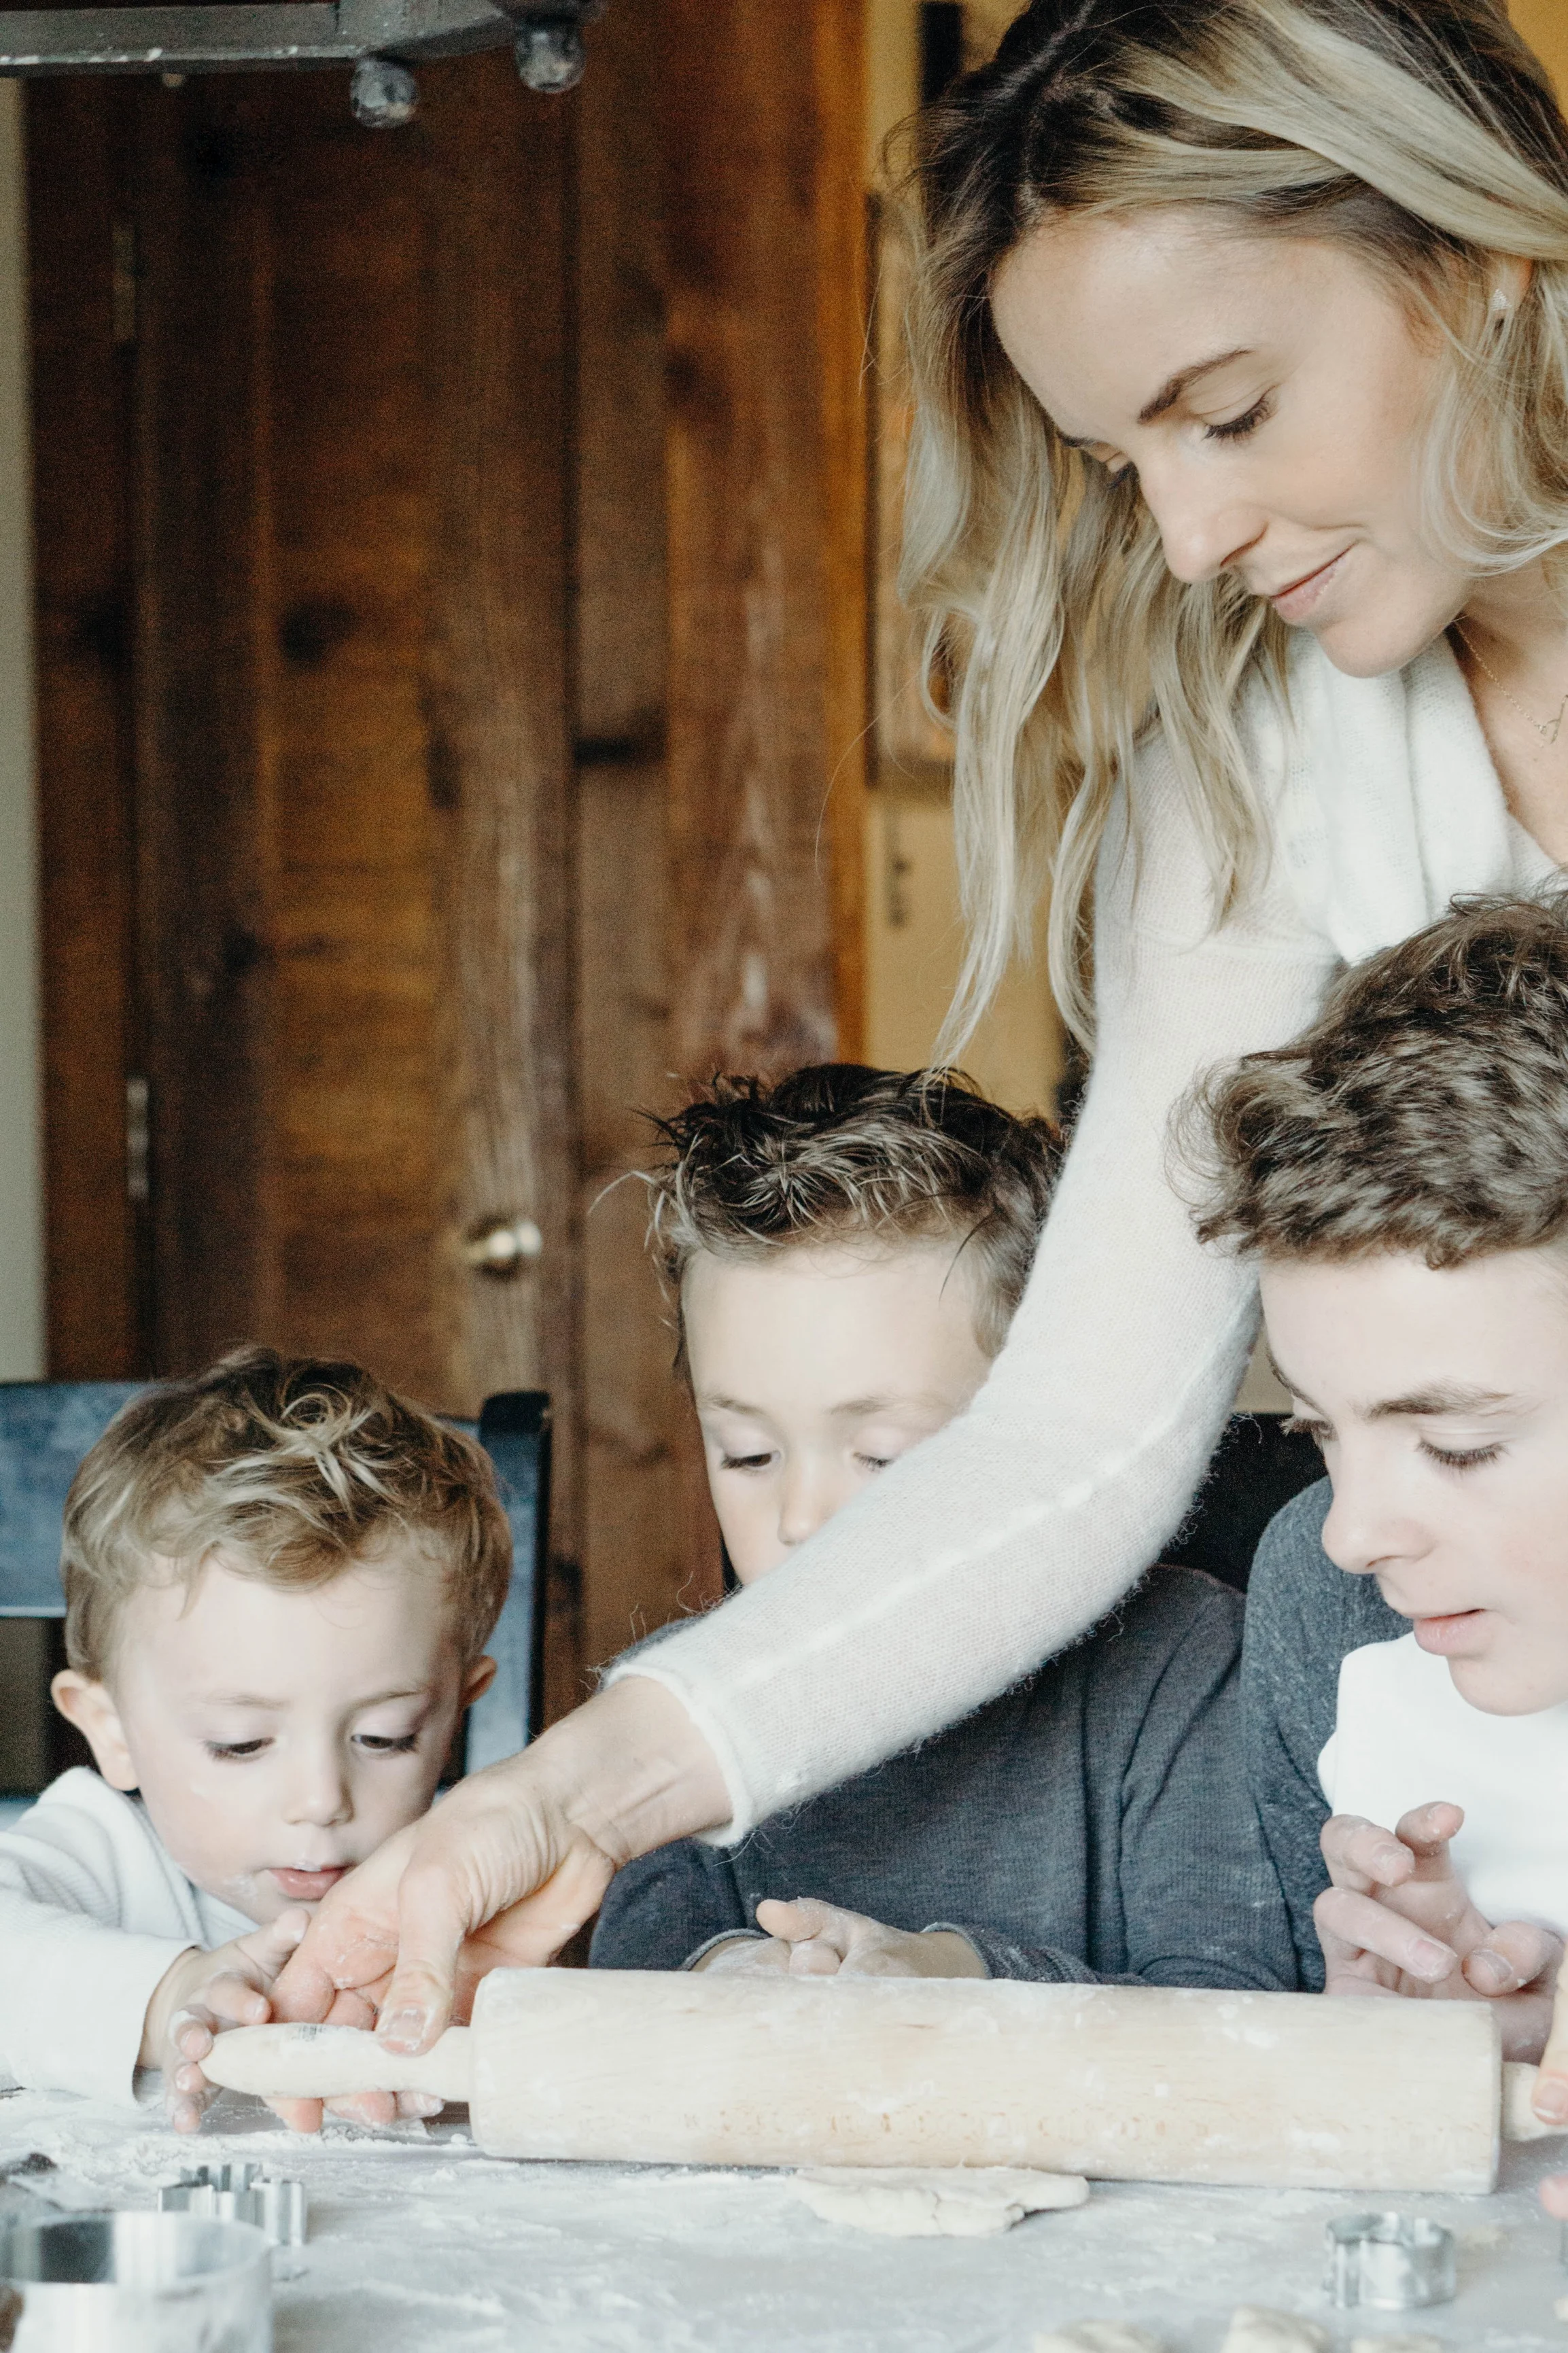
My kids love all stages of this recipe, from mixing to sprinkling. But their favorite part, of course, is the munching! These whoopie pies are a great way to help them build some kitchen confidence. Welcome to our type of family fun!
These ginormous cookie pies are made for sharing. Whether or not you choose to is entirely up to you.
Homemade Whoopie Pies
Makes 8 monster cookie sandwiches
You’ll need:
2 cups all purpose flour
1/2 cup + 2 tablespoons dark chocolate cocoa (I use Hershey’s Special Dark)
1 tsp baking soda
3/4 tsp kosher salt
1/2 cup ( 1 stick) unsalted butter, at room temperature
1 cup light brown sugar, packed
1 egg, at room temperature
1 tsp pure vanilla extract
1 cup buttermilk, at room temperature
an ice cream scooper for preparing
sprinkles (optional)
Preheat your oven to 350°F. Line 2 baking sheets with parchment paper.
In a medium sized bowl, whisk together the flour, cocoa, kosher salt, and baking soda. Set aside.
In the bowl of an electric mixer, fitted with the paddle attachment, cream the butter and brown sugar on medium-high speed till light and fluffy. About 3 minutes. Scrape down the bowl as needed.
Add the egg and vanilla. Mix on medium speed till combined. Scrape down the bowl again.
With the mixer on low speed, add 1/2 of the flour mixture. Mix for 20 seconds. Follow with half of the buttercream. Repeat with the remaining flour mixture, followed with the remaining buttercream. Mix till just combined.
With a rubber spatula, give a final mix by hand, from bottom to top, to make sure the batter is completely blended.
Using an ice cream scooper, scoop out mounds of batter onto the prepared baking sheets, placed at least 3 inches apart. They’ll expand quite a bit, so give them room! You’ll need 16 total.
Bake on the center racks for 15 to 18 minutes. Rotate your sheets halfway through so they’ll bake evenly. You’ll know they’re done when the center of the cookies are firm and bounce back when pressed.
Allow the pies to cool on the baking sheet for about 5 minutes, then transfer them to a wire rack to cool completely.
While they cool, make the filling.
Fluffy Vanilla Cream Cheese Buttercream
You’ll need:
8 tablespoon unsalted butter at room temperature
6 ounces of cream cheese, at room temperature
1 tsp pure vanilla extract
3 cups sifted powdered sugar
pinch of kosher salt
pastry bag
In a large bowl, beat the butter and cream cheese till combined.
Add the vanilla. Mix till combined.
On low speed, add the powdered sugar, one cup at a time, mixing well after each addition.
Add a pinch of kosher salt to taste.
Beat on medium-high speed for 3 minutes till light and fluffy.
Assembly
Fill a pastry bag with the buttercream and cut off the tip. On the flat side of a cooled pie, layer a generous amount of buttercream. Top with another pie, flat side down. Press gently till the buttercream spreads to the edges. Continue with the remaining pies.
Decorate the frosted sides with sprinkles if desired.
Place the pies back on a cookie sheet and chill them for 10 minutes to help the buttercream set.
The pies are best the day they’re made, but will stay fresh for up to 3 days, kept chilled in an airtight container.
If you don’t have pastry bags, simply use a spoon or butterknife to apply the buttercream filling.


