

Matcha Cupcakes with Honey Buttercream
Warning: These cupcakes will attract leprechauns.
Bonus: They’ll prevent you from getting pinched and make you super duper happy.


Time to celebrate all things green! St. Patrick’s Day is a couple weeks away and I have the perfect dessert to get you in the spirit: Matcha cupcakes with honey buttercream, finished with the happiest rainbow meringue cookies you ever did see.
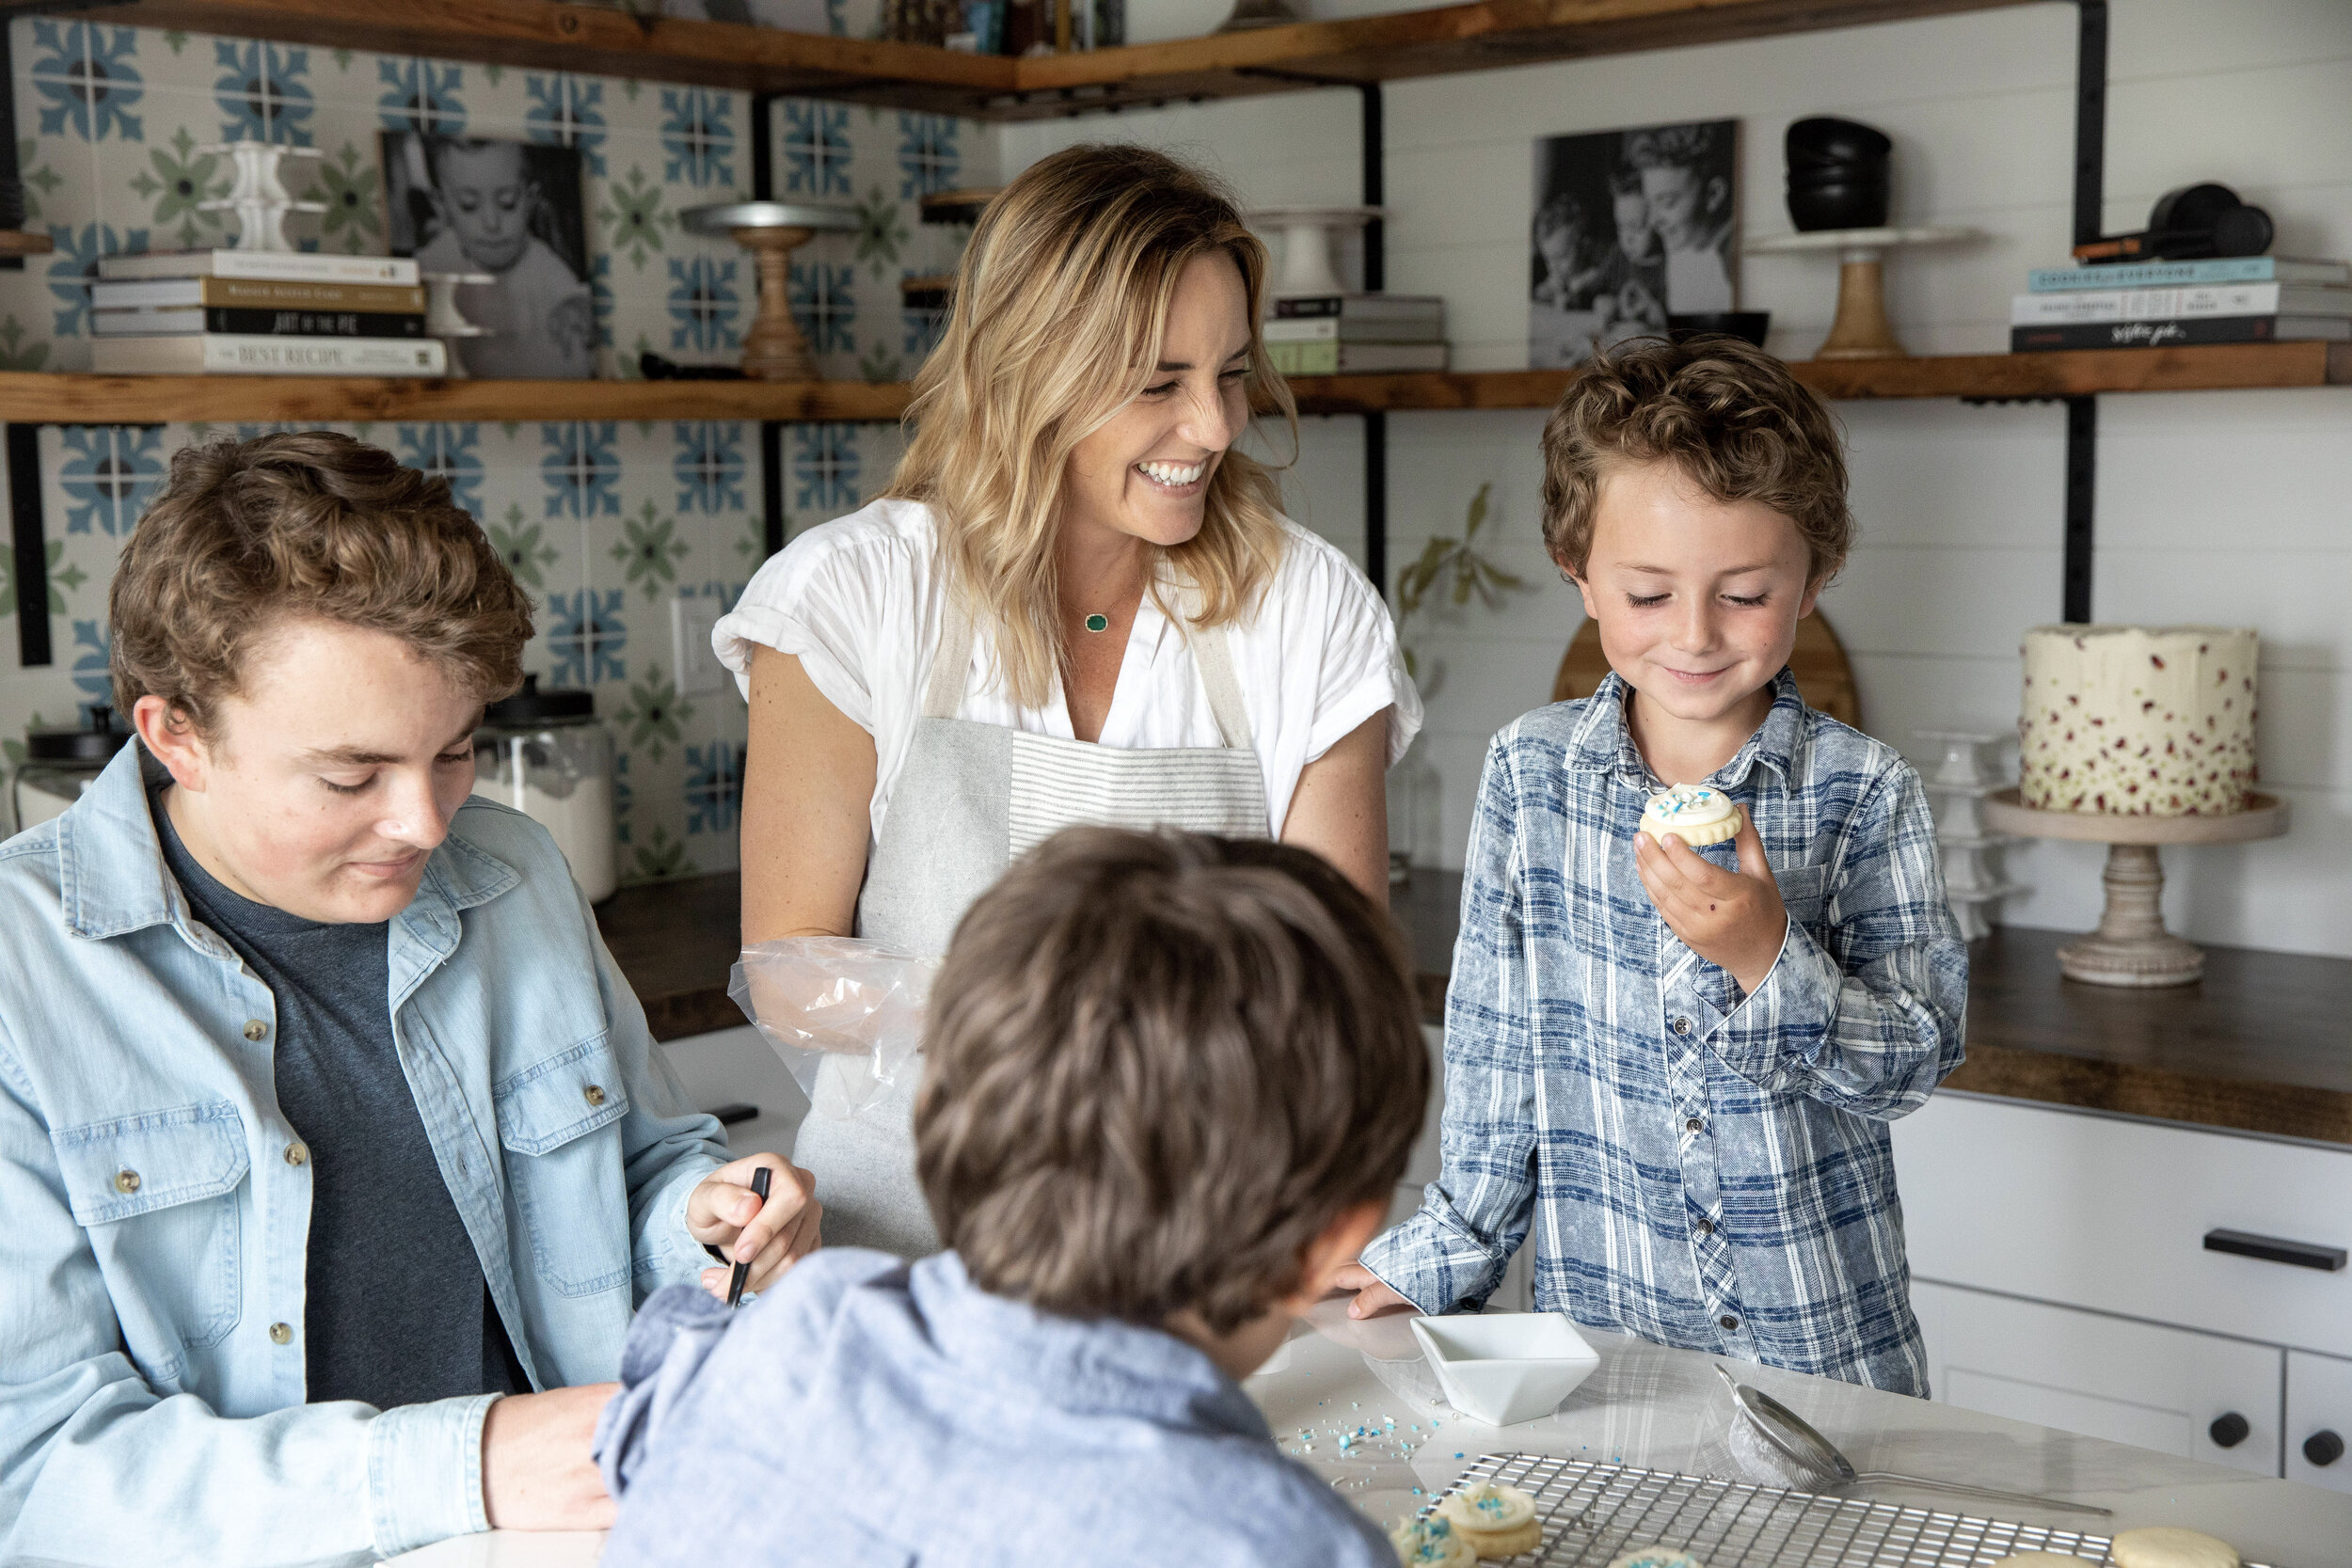
I’m getting a rush of endorphins just looking at them. Not only do these cupcakes taste amazing, but they’re stock full of healthy ingredients. And they’re adorable! I love how they resemble a rainbow with a pot of gold at the bottom. Perfect for little leprechauns.

While these cupcakes resemble a bowl of nutritionally vacant Lucky Charms cereal (remember eating those as a kid?), they’re actually very nutritionally rich. For the base of the cupcakes I used Kodiak Cakes Power Cakes Buttermilk mix. This mix has become my go-to when I want to make cupcakes quickly, as it has a tangy buttermilk flavor that can be easily paired with anything (it’s the blue jeans of mixes), and it’s filled with whole grains and protein. You can’t get that with Betty Crocker. I added high quality matcha powder, an antioxidant rich superfood, to get a vibrant green color and a warm earthy flavor, similar to green tea. Paired with honey buttercream and a light as air meringue cookie, after one bite, you’ll find yourself somewhere over the rainbow.


I’ve been wanting to experiment with matcha powder in my baking for some time, and St. Patrick’s Day was the perfect push. After all, it’s all about green, and what better way to color than naturally. I couldn’t wait to see and taste the result of this gorgeous jade, super food powder.
If you’re unfamiliar with Matcha powder, there are three grades: ceremonial, premium and culinary. Knowing the difference is crucial, because each contains different amounts of chlorophyll and will color differently. Ceremonial and premium grades are bright green, very fine, and taste strongly of green tea, whereas culinary grade is more dull in color and subtle in flavor. I used ceremonial grade because color and flavor are what matters. It’s the most expensive of the three, but I assure you, it was well worth it. Just look at that color! So beautiful and delicious.


To balance the earthy flavor of matcha, I paired the cupcakes with a tangy honey buttercream. The combination of the two is simply perfection. A simple cream cheese frosting would be wonderful as well. I also recommend trying the same recipe with Kodiak Cakes Power Cake flavors Chocolate Chip, Buttermilk and Honey, or Whole Wheat and Honey.

Matcha Cupcakes
* Makes 12 cupcakes
1/2 cup granulated sugar
1/4 tsp kosher salt
2 eggs, at room temperature
1/4 cup canola or vegetable oil
3/4 cup buttermilk, at room temperature
1 tsp pure vanilla extract
3 tablespoons honey
1 tablespoon good quality matcha powder (I used ceremonial grade)
Rainbow meringue cookies and gold sprinkles for garnish (recipe below)
Preheat your oven to 350°F. Line a cupcake pan with paper liners. Set aside.
In a large bowl, whisk the Kodiak Cakes Power Cakes Buttermilk Waffle Mix, sugar, and salt. Set aside.
In another bowl, whisk together the eggs, oil, buttermilk, vanilla, and honey.
With a wooden spoon or rubber spatula, add the wet ingredients to the dry. Mix till combined.
Add the matcha powder and mix till combined. The batter will resemble a green smoothie. My favorite part!
Fill each paper liner 2/3 full. I use an ice cream scooper to keep the cupcakes the same size. Bake for about 16-18 minutes, till a center tester comes out clean.
Allow the cupcakes to cool completely on a wire rack before frosting.
Honey Buttercream
1 cup (2 sticks) unsalted butter, at room temperature
4 oz (half block) cream cheese
4 cups powdered sugar
3 tablespoons honey
3 tablespoons of heavy cream
1 tsp vanilla
a pinch of kosher salt
In a bowl of an electric mixer, cream the butter and cream cheese on medium high speed for 2 to 3 minutes, till light and fluffy.
Add the powdered sugar, 1 cup at a time, mixing well after each addition.
Add the honey, heavy cream, vanilla, and pinch of salt. Mix on medium speed till combined.
Frost each cupcake generously, then top with sprinkles and a rainbow meringue cookie.

If you’re feeling adventurous I highly encourage you to attempt meringue cookies. With only 5 ingredients, they’re easier than they look! I used John Kanell’s recipe, from Preppy Kitchen, because it’s simple, delicious, and he explains the process well. I’ve attached the recipe below, along with his helpful notes. The colorful rainbow addition is my own twist. Here’s what you’ll need to create this look:
a piping bag
gel food coloring (I used the classic rainbow colors)
a food safe paint brush
1 large star piping tip (I used Ateco 869)
Insert the piping tip firmly at the base of the bag.
Using the paint brush, working with one color at a time, paint a wide vertical stripe inside the bag, starting from the piping tip to the end of the bag. Don’t worry about being too neat, as the colors will blend together as you fill and pipe. Repeat with the remaining colors, creating a rainbow in the interior. Fill the bag with meringue and pipe away!
Rainbow Meringue Cookies
From the Preppy Kitchen
* Makes about 24 cookies
4 egg whites, at room temperature
1/4 tsp cream of tarter
1/4 tsp kosher salt
1 cup granulated sugar
1 tsp pure vanilla extract
Set oven to 200°F. Separate the egg whites one at a time into a small bowl then transfer each white to the bowl of your stand mixer. You really don’t want to get any broken yolks in your bowl so separating them individually contains the damage if anything happens.
Add the cream of tartar and salt to the bowl then begin mixing on low and gradually increase the speed to high.
Once the egg whites have frothed up you can begin SLOWLY sprinkling in the sugar. This step makes a big difference in your final meringues so remember to take your time and add the sugar in gradually. You can do a teaspoon at a time or just sprinkle it in slow as slow can be. After the sugar has been added it’s time to beat in some vanilla.
Your meringue is done once it has a Thick marshmallowy texture and can hold a nice peak. I would caution against letting it sit for too long as it will lose consistency and not pipe as nicely if left to its own devices for too long. If you are coloring the meringue I suggest you add a SMALL, tiny amount of coloring in with a toothpick or skewer then beat in with the the whisk attachment to distribute the color. Transfer to a piping bag fitted with a large star attachment or with the tip snipped off.
Add small dollops of meringue to the corners of your baking sheet and press the parchment paper down. The meringue acts like glue and gives you a nice stable base to pipe on. Pipe your meringues allowing at least an inch of space between each for airflow. Squeeze the piping bag while it’s about 1/2 an inch from the paper, lift as you squeeze then stop squeezing but continue to lift the finish the meringue.
Place on the center rack to bake at 200 for about an hour then turn the oven off and keep closed for an additional 1-2 hours. The meringue cookies are done when they're dried throughout. You'll be able to lift them off the baking sheet and they will feel very light and dry.
Helpful Notes for making Meringue
Separate each egg white into a small bowl before adding it to the mixer, this way if a yolk breaks you won't have to repurpose the whole batch into an omelette.
Drizzle the sugar in VERY slowly while the mixer runs. You can add in a teaspoon at a time or just go for a slow cascade of sugar. It makes a huge difference in the quality of your meringue.
Pipe your meringue as soon as it's done. Meringue will lose consistency if it sits around for a while.
Center rack is best for baking.
Just leave them in the oven for at least an hour and don't keep opening the oven, they need a nice warm dry place to hang out after baking.
These meringues can be made in a large bowl with an electric hand mixer instead of a stand mixer, just be prepared for it to take a while


